Video Games for Exercise.
The 5 Best Video Games for Exercise.
Get Fit While Having Fun
Let’s face it—hitting the gym isn’t for everyone. But what if getting fit felt more like a game than a chore? Welcome to the world of fitness video games. Whether you love dancing, slashing beats, or throwing punches in rhythm, there’s a game out there that’ll get your heart racing and your muscles moving—without ever leaving the house.
Here are five of the best video games that cleverly disguise exercise as fun.
1. Ring Fit Adventure (Nintendo Switch)


Buy The Game
Ring Fit Adventure is more than a game—it’s a full-body RPG that turns exercise into a fantastical quest. With a custom ring-shaped controller and a leg strap, you’ll run, squat, press, and flex your way through beautiful worlds while battling monsters.
The best part? It adjusts to your fitness level. Whether you’re a beginner or seasoned gym-goer, the game scales workouts to meet you where you are. From squats to yoga poses, every movement helps your character level up—while helping you improve your stamina and strength in real life.
Players rave about real fitness results, including weight loss and better endurance. One person even credited Ring Fit Adventure with breaking their quarantine slump and reigniting their love for movement.
And because it’s story-driven, you’ll want to keep coming back—not for the burn, but for the next chapter in your adventure.
🎮 Platform: Nintendo Switch
💪 Target Areas: Core, legs, arms, cardio
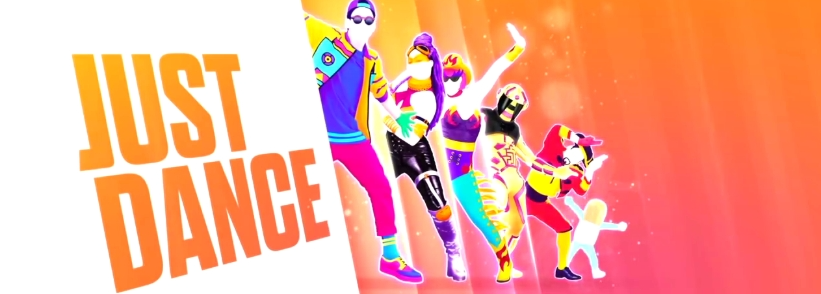
2. Just Dance (Multi-platform)

 Buy The Game 50% off.
Ready to dance like nobody’s watching—or like everyone’s watching at a virtual dance-off? Just Dance transforms your living room into a high-energy dance floor, complete with pop hits and flashy moves.
No dance skills required. Just mimic the on-screen dancers to score points. The routines cover a wide range of styles, from hip-hop and salsa to classic pop and techno, making for a varied full-body workout.
It’s not just about burning calories—it’s about having a blast. Dance solo or invite friends and family for a friendly competition. Online multiplayer adds a social twist that keeps things motivating and fun.
Pro tip: try tracking your progress over time with the in-game stats. You’ll be amazed at how much your rhythm, balance, and endurance improve—even if you still can’t moonwalk.
🎮 Platform: Nintendo Switch, PS4/PS5, Xbox, PC
💃 Target Areas: Full-body workout
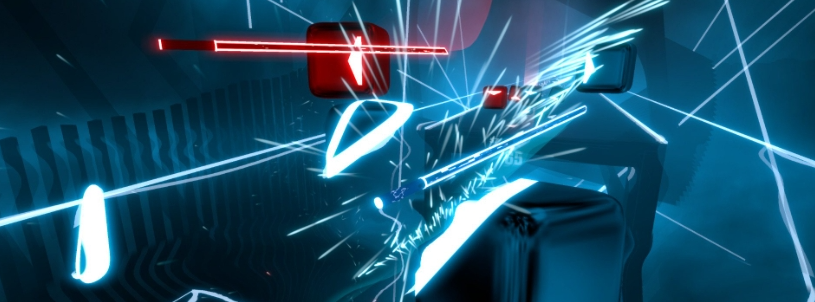
3. Beat Saber (VR Platforms)

 Buy The Game
If Jedi training and dance-offs had a baby, it would be Beat Saber. In this VR rhythm game, you slice glowing blocks in time with music while dodging obstacles. It’s fast, intense, and seriously fun.
The gameplay is simple—yet addictive. The better your timing, the higher your score. But here’s the kicker: while you’re having a blast, you’re working your arms, shoulders, and core hard. Some fast-paced songs can feel like an upper-body cardio session.
With thousands of custom tracks created by fans, you’ll never run out of new challenges. Start slow or jump into expert mode if you’re brave. Either way, it’s a killer combo of fitness, rhythm, and adrenaline.
Users often describe Beat Saber as a great stress reliever and even a meditative experience—if meditation involved lightsabers and EDM beats.
🎮 Platform: Oculus Quest, PS VR, SteamVR
⚔️ Target Areas: Arms, shoulders, core, cardio
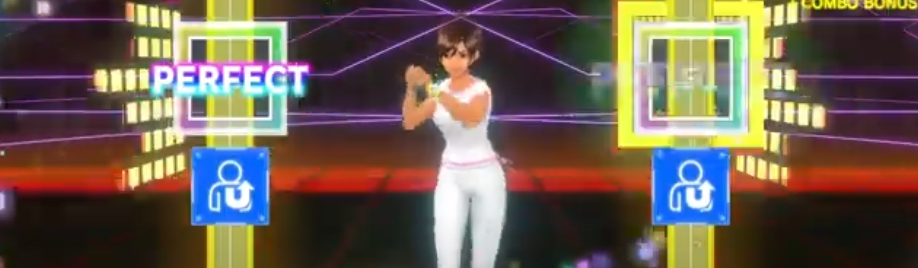
4. Fitness Boxing (Nintendo Switch)

 Buy The Game
Don’t want to dance but still want to move? Fitness Boxing packs a punch—literally. This rhythm-based workout game teaches you jabs, hooks, and uppercuts set to upbeat music. Each session feels like a mini boxing class in your living room.
A virtual trainer leads you through workouts that emphasize proper form, timing, and intensity. You can choose the duration and difficulty of each session, so it’s easy to fit into a busy schedule. It’s a surprisingly solid cardio routine, especially for your arms and core.
Daily workouts change things up, and you can track your progress in calories burned and punches thrown. The combo of boxing with music helps release tension and build confidence while keeping your heart rate up.
🎮 Platform: Nintendo Switch
🥊 Target Areas: Arms, abs, cardio
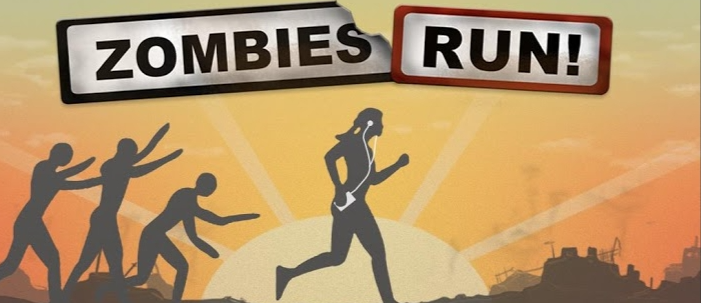
5. Zombies, Run. (Mobile App)

 Download The Game
Want to get moving outdoors? Zombies, Run! is an immersive audio game that turns jogging into a survival mission. Strap on your earbuds and start running—the zombie apocalypse is here.
With each mission, you collect supplies, complete story objectives, and avoid getting caught by the undead. The app uses GPS to track your pace and distance. If zombies are nearby, you’ll need to speed up to avoid them.
The storytelling is top-notch, and the thrill of being chased keeps your adrenaline high—perfect for pushing your limits. Whether you’re walking, jogging, or sprinting, it adapts to your pace and builds fitness through interval training.
Great for solo runners who want an extra dose of motivation—or anyone who just likes pretending they’re in a sci-fi thriller while getting in shape.
📱 Platform: iOS, Android
🧟 Target Areas: Legs, cardio, stamina
Final Thoughts
These games prove that exercise can be exciting, immersive, and even addictive (in a good way). Whether you’re dancing, boxing, slicing beats, or escaping zombies, there’s a game out there that matches your style—and keeps you moving.
Fire up your console, stretch a little, and press “Start.” Your new fitness routine just became a whole lot more fun.
What’s your favorite exercise game?
Steve
Some links on this site may be affiliate links, and if you purchase something through these links, I will make a commission on them.
There will be no extra cost to you and, you could actually save money. Read our full affiliate disclosure here.